Patagonia Trek Planning: The Permit and Gear Sequence That Prevents Failure
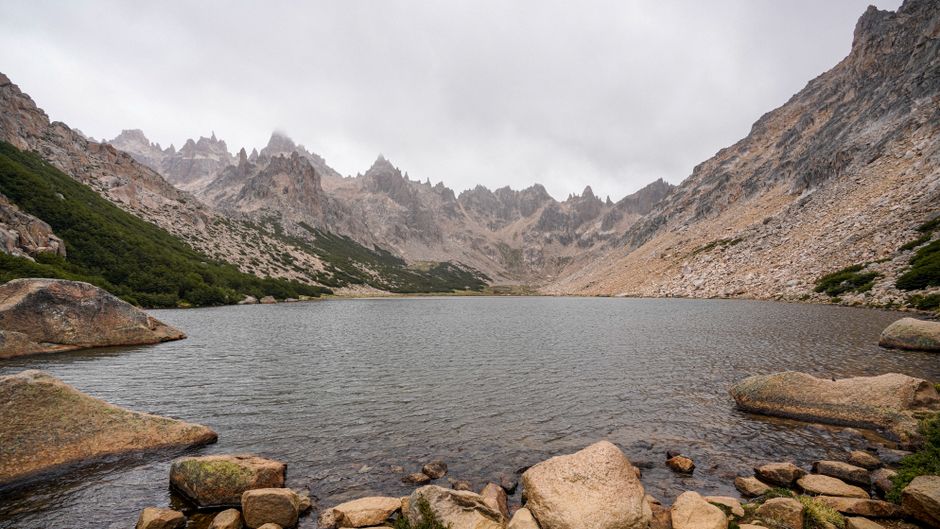
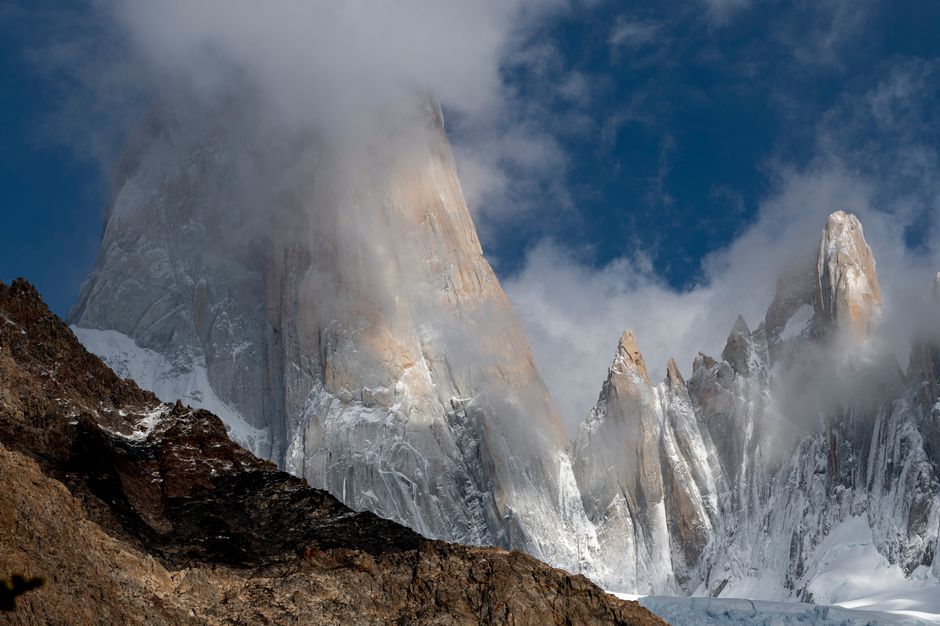
You have seen the photos. Granite towers, turquoise lakes, wind that bends trees sideways. You want to walk there. But the gap between wanting to trek Patagonia and actually standing at a trailhead with the right permits, the right pack weight, and the right route is where most first-timers stall out. This article closes that gap with a sequence, not a list.
The Real Problem: You Are Not Planning a Hike, You Are Planning a Permit Chain
Patagonia is not like the Appalachian Trail or the Tour du Mont Blanc. You cannot just show up and walk. The two most popular multi-day routes — the W Trek and the O Circuit in Torres del Paine — require reservations at specific campsites and refugios on specific nights. Those reservations sell out months in advance. The permit chain is the actual planning problem. Solve that first and everything else follows.
Why the W Trek Is the Correct First Choice
The W Trek covers roughly 76 kilometers over four to five days. It hits the three main viewpoints: Glacier Grey, the French Valley, and the Base Torres lookout. For a first multi-day trek in Patagonia, the W beats the full O Circuit because you can sleep in refugios with hot meals and rent sleeping bags at some sites. That reduces your pack weight significantly. You still carry your clothes, water, and layers, but you are not hauling a tent, stove, and four days of food. That is the single biggest mistake first-timers make: choosing a route that forces them to carry 18 kilograms when 9 kilograms would do.
The Booking Sequence That Actually Works
Book in this exact order:
- Step 1: Pick your dates for the 2026 season. The reliable window is late November through early March. Outside that, snow and closed facilities wreck itineraries.
- Step 2: Check availability for the two private concessionaires that run the campsites and refugios inside Torres del Paine: Vertice Patagonia (covers Paine Grande, Grey, and Dickson) and Fantastico Sur (covers Central, Cuernos, Chileno, and Serón). You may need reservations from both companies for one W Trek itinerary.
- Step 3: Buy your CONAF park entrance ticket separately. Since 2026, CONAF requires a specific entry date and a passport number. The ticket itself is not the bottleneck — the campsite reservations are.
- Step 4: Book your bus from Puerto Natales to the park entrance and the catamaran across Lake Pehoé if your route starts at Paine Grande.
Do not book flights to Punta Arenas until you have campsite confirmations in hand. Flights are easy to change. Campsite reservations are not.
What to Carry: A Pack Weight Breakdown That Survives 100 km/h Gusts
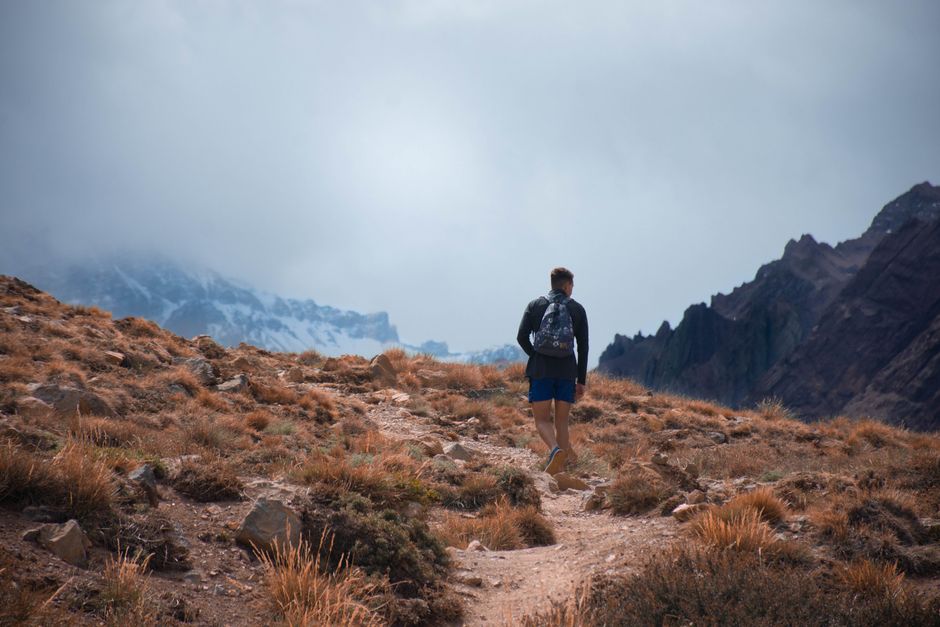
Patagonia breaks gear in specific ways. Wind is the main one. Rain is second. You need a layering system that dries fast and a pack cover that will not tear off in a gust. Here is a realistic loadout for a refugio-based W Trek in the 2026 season, with real product names and weights.
| Item | Specific Product Example | Weight | Why It Matters Here |
|---|---|---|---|
| Backpack 40L | Osprey Tempest 40 (women) or Talon 40 (men) | 1.2 kg | Enough for refugio trek; forces you to pack light |
| Rain shell | Outdoor Research Foray II | 340 g | Full side zips dump heat fast |
| Insulation | Patagonia Nano Puff Hoody | 363 g | Synthetic, dries if wet |
| Sleeping bag liner | Sea to Summit Thermolite Reactor | 248 g | Refugios provide blankets; liner adds warmth |
| Water filter | Katadyn BeFree 1.0L | 63 g | Stream water is common; filter beats carrying 2L |
| Headlamp | Black Diamond Spot 400 | 78 g | Base Torres sunrise starts at 3:30 AM |
| Emergency beacon | Garmin inReach Mini 2 | 100 g | Cell coverage is zero on most of the W |
Total base weight for this setup, including worn clothing, stays under 7 kilograms. That is the number to beat. If your pack weighs more than 10 kilograms before water, you packed fear, not gear.
The Wind Failure Mode
Cheap pack covers rip. Cheap tent poles snap. Cheap rain jackets wet out after two hours. In Torres del Paine, gusts regularly hit 90 km/h and have been recorded over 140 km/h. The failure mode is not discomfort — it is hypothermia when wet layers meet wind. Buy a rain shell with a hood that cinches down over a beanie. Wear it even when it is not raining if the wind is howling. That is the move most first-timers miss.
Route Timing: The Daily Schedule That Avoids the 11 AM Crowd
Here is the compressed verdict: start every hiking day before 7:30 AM. Not because you are a morning person. Because the afternoon wind in Patagonia is predictable. It builds from late morning and peaks between 2 PM and 6 PM. The trekkers who sleep in are the ones crossing exposed passes in 80 km/h gusts with sideways rain. The trekkers who start early are already at the next refugio drinking coffee.
West-to-East vs East-to-West
Most people start the W at Paine Grande and hike east toward Central. That means the first day is relatively flat along Lake Pehoé, then you climb into the French Valley, then you finish with the long push to Base Torres. The alternative is east-to-west, starting at Central. The west-to-east direction puts the hardest, steepest day (Base Torres sunrise) at the end when your legs are already tired. Some people prefer that. I do not. For a first trek, put the hardest day in the middle so you are not limping through the final 12 kilometers. That means west-to-east.
Daily Distance Reality Check
- Day 1: Paine Grande to Grey, 11 km, 4 hours. Easy warm-up.
- Day 2: Grey back to Paine Grande, 11 km, 4 hours. Same trail, different light.
- Day 3: Paine Grande to Francés via the French Valley viewpoint, 17 km, 7 hours. The big day.
- Day 4: Francés to Central, 20 km, 8 hours. Long but mostly rolling.
- Day 5: Central to Base Torres and back, 22 km, 9 hours. Leave at 4 AM.
Those times are for a moderately fit hiker carrying a light pack. Add 30% if you are not training. Subtract nothing.
When Not to Trek Patagonia
Do not book a Patagonia trek if you have never done a multi-day hike anywhere else. Start with something shorter and closer to home. A two-night loop in your local mountains. A three-day section of a long trail. Patagonia is not where you learn to filter water, manage blisters, or discover that your boots give you hot spots. The consequences of basic mistakes — wrong layers, bad navigation, overpacking — are amplified by remoteness and weather. You can learn those lessons for free somewhere else.
Also skip Patagonia if your budget is tight. A W Trek in 2026, including flights from North America, park fees, refugio beds, meals, and transfers, realistically costs between $1,800 and $2,800 per person. That is before gear. If that number makes you flinch, go to the Cordillera Blanca in Peru or the Lake District in Chile instead. Both offer multi-day trekking at a fraction of the cost with less permit pressure.
Training and Fitness: The 12-Week Build That Makes the Trek Enjoyable
The W Trek is not technically hard. No ropes, no scrambling, no glacier crossings on the standard route. What breaks people is cumulative fatigue. Five consecutive days of 11 to 22 kilometers with a pack, plus the Base Torres day with 1,000 meters of elevation gain, requires a specific kind of fitness. You need time on feet, not gym strength.
What Actually Works
Twelve weeks before your flight, do this:
- Weeks 1-4: Three hikes per week, 6-10 km each, flat to rolling. One longer hike on the weekend, 12-15 km. Carry a half-loaded pack.
- Weeks 5-8: Add one stair session per week. 45 minutes on a stair machine or a local stadium. Carry your full pack. This builds the exact muscle group for Base Torres.
- Weeks 9-12: Two back-to-back long hikes on consecutive days, 15-18 km each. This simulates the multi-day fatigue. Your legs need to learn to work tired.
The failure mode here is training only on weekends. One long hike per week is not enough. The W Trek is five days in a row. If your body has never hiked three days in a row, day three is where you will hit the wall. Train for that specific wall.
Boots vs Trail Runners
This is the most argued gear question in Patagonia. My position: wear trail runners unless you have weak ankles or are hiking in early November with snow on the trail. The W Trek has well-maintained paths. Trail runners dry faster, weigh less, and cause fewer blisters for most people. The Altra Lone Peak 8 and the Hoka Speedgoat 6 are the two most common models I see on the trail. If you need ankle support, the Salomon Quest 4 GTX is the standard boot. Whatever you choose, put 50 kilometers on them before you fly. New boots on day one of a Patagonia trek is a blister factory.
Summary: The Sequence That Prevents Failure
If you remember nothing else, remember this order of operations:
- First: Book campsites and refugios through Vertice Patagonia and Fantastico Sur for the 2026 season. This is the real permit.
- Second: Buy the CONAF park ticket with your passport number and entry date.
- Third: Book the bus and catamaran transfers.
- Fourth: Train for five consecutive days on your feet, not for a single long hike.
- Fifth: Pack under 7 kilograms base weight. If you are over 10, you are carrying fear.
- Sixth: Start every hiking day before 7:30 AM to beat the afternoon wind.
The people who fail at Patagonia are not the unfit ones. They are the ones who treated a permit-gated, weather-hostile, five-day trek like a casual weekend walk. Solve the sequence, keep the pack light, and start early. The towers will still be there when you arrive.

Related Posts