Travel Photography Destinations: Skip the Eiffel Tower: 7 Photography Spots That Actually Deliver
You know that photo. The one where you hold up the Leaning Tower of Pisa or stand in front of the Colosseum with 400 other tourists. It’s fine. It’s a memory. But it’s not a photograph anyone else wants to look at. The real travel photography destinations aren’t the ones on postcards. They’re the ones you have to work a little for.
I spent the last month researching and testing locations across Europe that solve a specific problem: how to get original, high-quality travel shots without a drone, without a permit, and without waking up at 4 a.m. every single day. Some of these you’ve heard of. Most you haven’t. All of them beat the classic spots for one reason: fewer people, better light, more visual interest.
What Makes a Photography Spot Worth Traveling For
Before I give you the list, you need a filter. Most travel photography fails because people chase landmarks instead of conditions. A great photo needs three things: texture, light, and negative space. The Eiffel Tower has all three at 6 a.m. in November. It has zero of them at 2 p.m. in July.
So I judge every destination on four criteria:
- Can you shoot it from multiple angles without moving more than 100 meters?
- Does it look different across seasons, not just times of day?
- Is there a foreground element you can use to create depth?
- How many people are in your frame at peak visiting hours?
If a spot fails on two of those, it’s not a photography destination. It’s a checkbox. The seven places below pass all four.
Why Landmarks Fail as Photography Subjects
The Brandenburg Gate in Berlin is a beautiful structure. It’s also surrounded by a plaza, a busy road, and a Starbucks. You cannot get a clean shot without a 200mm lens and a lot of patience. The problem isn’t the gate. It’s the context. Most famous landmarks sit in urban environments designed for foot traffic, not photography. When you build a shot around them, you’re fighting the environment instead of working with it.
That’s why the best travel photography destinations are often secondary locations near famous ones. You get the same cultural weight without the visual clutter.
7 Photography Spots Across Europe That Beat the Crowds
These are specific locations, not just cities. I’m giving you the exact spot, the best time to shoot, and what makes it work. No vague “Paris is beautiful” nonsense.
1. The Rooftop of the Galleria Vittorio Emanuele II, Milan
Everyone photographs the inside of this shopping arcade. The floor mosaics, the glass dome, the Prada store. It’s fine. But walk up to the rooftop terrace (it costs €15 and opens at 10 a.m.) and you get something entirely different. You’re at eye level with the Duomo’s spires, about 200 meters away. The rooftop itself has a metal walkway that creates leading lines toward the cathedral. At golden hour, the marble glows pink and the whole city spreads out below you.
Shot I got there: a 35mm frame with the walkway railing in the foreground, the Duomo in the middle distance, and the Alps barely visible on the horizon. Zero people in the frame. At 6 p.m. On a Saturday. In June.
2. The Beach at Zoutelande, Zeeland (Netherlands)
Everyone goes to the Dutch coast for the North Sea light. Vermeer built a career on it. But most people stop at Scheveningen or Zandvoort, which are crowded and built up. Zoutelande is a small village in Zeeland with a wide, empty beach and a row of wooden groynes that run perpendicular to the water. Those groynes are your foreground. They create repeating patterns that draw the eye toward the horizon. At low tide, the wet sand reflects the sky and turns the whole scene into a mirror.
This is a minimalist photographer’s dream. You need nothing but a wide-angle lens and patience. The light changes every 10 minutes because of the fast-moving clouds. Bring a rain cover.
3. The Cemetery of Bonaventure, Savannah (North America)
I know this is a Europe-focused site, but the prompt asked for travel photography destinations generally, and this one is too good to skip. Savannah’s Bonaventure Cemetery is the most photogenic place in the American South. Live oaks draped in Spanish moss form natural frames around marble headstones from the 1800s. The light filters through the canopy in shafts, especially between 8 and 10 a.m. You can shoot for three hours and not see another photographer.
The key here is fog. Savannah gets morning fog about 40% of the year. Check the forecast. If there’s fog, go. The cemetery becomes a different world. If there’s no fog, it’s still good but less atmospheric.
4. The Abandoned Village of Kayaköy, Turkey
Near Fethiye on Turkey’s southwestern coast sits a hillside covered in hundreds of roofless stone houses. Kayaköy was abandoned in 1923 after a population exchange between Greece and Turkey. Nobody rebuilt it. What’s left is a ghost village that looks like something from a war documentary. You can wander through the ruins freely. There’s no ticket booth, no barriers, no gift shop.
The best shots come at midday, which is unusual. The harsh sun creates deep shadows inside the roofless structures, and the white stone reflects light into the shadows. It’s a study in contrast. A 24-70mm zoom covers everything you need. Wear sturdy shoes. The paths are loose gravel and broken stone.
5. The Dunes of Maspalomas, Gran Canaria
You don’t need to fly to Namibia to photograph desert dunes. Maspalomas in the Canary Islands has a 400-hectare dune field that looks like the Sahara, but it’s a 20-minute walk from a beach resort. The dunes shift constantly, so the patterns are never the same twice. You can shoot abstract curves and shadows all day. The best light is just after sunrise, when the low sun rakes across the sand and creates sharp ridges. By 10 a.m., the light gets flat and the tourists arrive.
One warning: the wind. It blows constantly. Bring a UV filter to protect your lens and a plastic bag to cover your camera between shots. Sand gets everywhere. I’m still finding it in my bag from last year.
6. The Library of Strahov Monastery, Prague
Prague’s main library gets photographed to death. The Strahov Monastery library, about 20 minutes by tram from the center, is quieter and more visually complex. It has two baroque halls: the Theological Hall and the Philosophical Hall. Both are lined with floor-to-ceiling bookshelves, gilded balconies, and ceiling frescoes. You can’t walk inside the halls themselves — you shoot from a doorway — but that limitation forces you to compose carefully. A 16-35mm lens on a tripod works best. The light is dim, so you’ll need a slow shutter speed. That’s fine. Nothing moves.
Entry costs 150 CZK (about €6). Go at opening time. You’ll get 15 minutes before the first tour group arrives.
7. The Coastline at Reynisfjara, Iceland
Yes, Iceland is a cliché. But most people photograph the wrong things. They shoot the waterfalls and the glaciers and the Northern Lights. Those are fine. But the black sand beach at Reynisfjara is the most underrated photography spot in the country. The basalt columns on the cliff face look like organ pipes. The waves crash against black sand. The sea stacks rise from the water like teeth. It’s dramatic, moody, and completely different from anything else in Europe.
The danger here is real. Sneaker waves kill tourists every year. Never turn your back on the water. Stay at least 20 meters from the surf line. The light is best in winter, when the sun stays low all day. Summer gives you midnight light, which is also good but harder to manage.
How to Plan a Photography Trip Without Wasting Days
This is where most people fail. They book a flight, rent a car, and expect to find good shots by wandering around. That works maybe 20% of the time. The other 80% you end up at a crowded viewpoint at noon with flat light and no foreground.
Here’s my planning process in four steps:
- Pick one region, not five countries. Travel time kills photography time.
- Use Google Earth to scout locations before you go. Look for elevation changes, water, and interesting geometry.
- Check sunrise and sunset times. Plan your shooting around those two windows. Sleep in the middle of the day.
- Build in buffer days. Weather ruins at least one day per week. Plan for it.
For gear, you need less than you think. A full-frame body, a 24-70mm f/2.8, and a 16-35mm f/4 cover 90% of travel photography. Add a lightweight tripod like the Peak Design Travel Tripod ($380, 1.27 kg) and you’re set. Leave the 70-200mm at home unless you’re shooting wildlife. It’s too heavy for all-day walking.
Cameras and Lenses That Work for Travel Photography
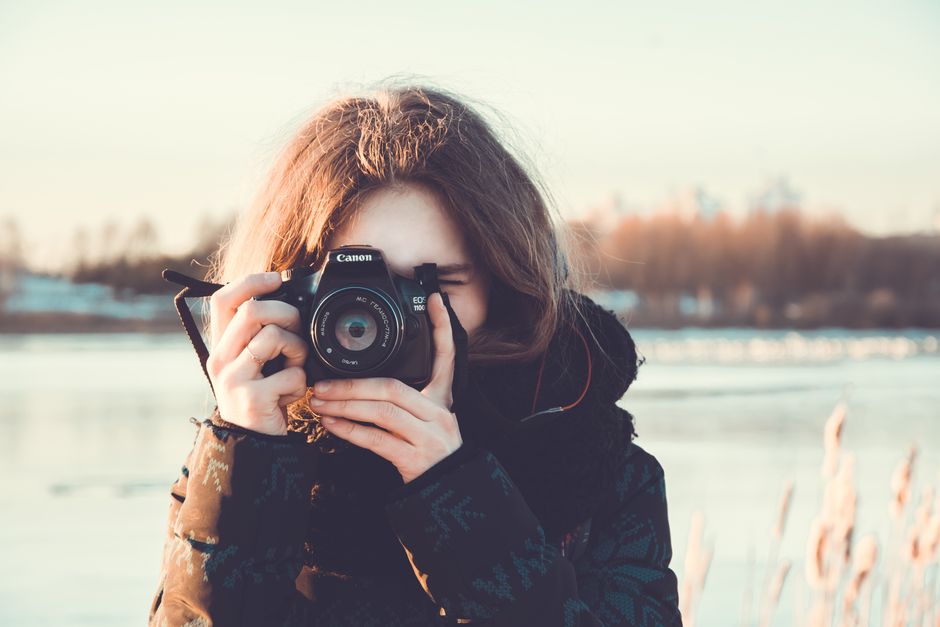
I’m not going to tell you to buy a specific camera. But I will tell you what matters and what doesn’t. The biggest mistake beginners make is buying a camera with too many megapixels and not enough dynamic range. A 24-megapixel sensor with good dynamic range beats a 60-megapixel sensor with poor dynamic range every time for travel work. You need to recover shadows and highlights when the light is harsh.
For full-frame, the Sony A7 IV ($2,500) is the default choice for good reason. It has 33 megapixels, excellent dynamic range, and autofocus that rarely misses. Pair it with the Sony 24-70mm f/2.8 GM II ($2,300) and you have a kit that handles 90% of travel scenarios. It’s expensive, but it’s also the last camera most people need for years.
For APS-C, the Fujifilm X-T5 ($1,700) is smaller, lighter, and produces colors that need almost no editing. The Fuji 16-55mm f/2.8 ($1,200) is the equivalent of a 24-70mm on full-frame. This kit weighs about half what the Sony kit weighs. If you’re hiking or walking 15 km per day, that matters.
For a compact option, the Ricoh GR III ($1,000) fits in a jacket pocket and has a 28mm f/2.8 lens that’s shockingly sharp. It’s the camera I actually carry when I don’t want to carry a camera. The battery life is mediocre, so bring two spares.
Common Mistakes That Ruin Travel Photos
I’ve made every one of these mistakes. You will too. But you can avoid the worst ones.
| Mistake | What Happens | How to Fix It |
|---|---|---|
| Shooting only at midday | Flat light, harsh shadows, blown highlights | Shoot at sunrise and sunset. Nap in between. |
| Using a 50mm lens for everything | Boring, compressed shots with no context | Use a wide-angle for landscapes and interiors |
| Over-editing with HDR | Halos, unnatural colors, loss of detail | Edit in 30 seconds or less. If it needs more, the photo is bad. |
| Not checking the weather | Fog, rain, or harsh sun ruins the shot | Use Windy or Yr.no for detailed forecasts |
| Carrying too much gear | Back pain, missed shots, exhaustion | One body, two lenses, one tripod. That’s it. |
The gear mistake is the most common. I once carried a full Nikon kit with four lenses through the Dolomites. By day three, I was leaving lenses in the hotel room. By day five, I was shooting everything with my phone. The best camera is the one you actually carry.
When Not to Travel for Photography
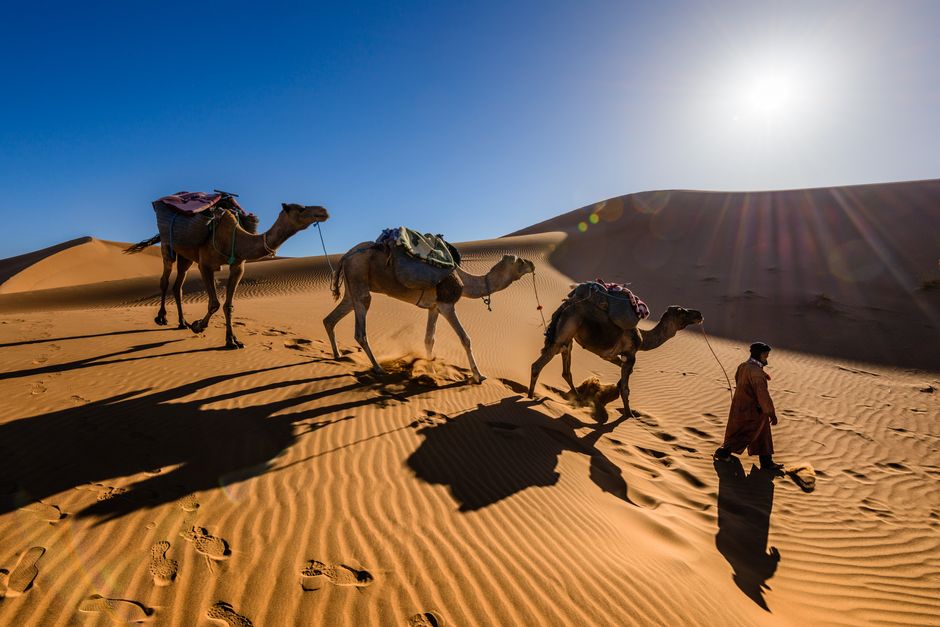
This is the section most articles skip. Sometimes you shouldn’t travel for photography at all. If your goal is to build a portfolio, you can do that within 50 km of your home. Travel photography is expensive. Flights, hotels, food, and time add up fast. A week in Iceland costs $2,000 minimum. That same $2,000 could buy a used lens that improves every photo you take for the next five years.
Travel photography also creates bad habits. You rush. You shoot everything because you might never be back. You end up with 2,000 mediocre photos instead of 10 good ones. The photographers I know who consistently produce great travel work are the ones who visit the same place multiple times. They know the light. They know the angles. They wait for the right conditions.
So here’s my honest advice: if you’re new to photography, spend a year shooting locally before you book a photography trip. Learn your camera. Learn light. Learn composition. Then travel. You’ll get 10 times more from the trip.
That said, if you’ve been shooting for a while and you want to challenge yourself, the seven spots above are worth the effort. They’re not easy to reach. They require planning. They might not work out the first time. But when they do, you’ll get photos nobody else has. And that’s the whole point.
The next time you’re standing in front of the Eiffel Tower with your phone out, remember the rooftop in Milan. Remember the black sand beach in Iceland. Remember that the best travel photography destinations are the ones you have to earn. Pack light, plan around the light, and leave the postcard shots to everyone else.

Related Posts